Friday, February 23, 2018

Wow it has been far to long!

Hello everyone sorry it has been so long since I have been on my blog. Well I have been very busy this past year learning and trying some new things out. Yes I will get my act together and get posting about them more on here. Right now I am teaching myself calligraphy so I can do a friend's wedding envelopes, so wish me luck with that. Here is a little preview of what I am also working on for a show I am doing on April 14th.
 

I am creating some men and children birthday cards. I am working my way through these nautical stamps for the men cards. I am creating a least three cards with one sheet of the paper pad and a different stamp. So far I have used the sailboat and the sailor, tonight I plan on playing with the lighthouse. I will post about the card I have created early next week. 

I also have been working on adding the cards I have finished to my Etsy shop QtCards. Please take a look to see whAt I have to offer and follow so you can see what I add.

Monday, October 10, 2016

Tags,tags and some more tags

Hello, everyone! How are you doing? Summer is behind us, Fall and all the fun with this time is here. So of course my favorite holiday Christmas is just a couple months away, which means gift wrapping! Yes I know I will have you shaking your head but I LOVE wrapping gifts. I feel that if I have a special gift I like to have the wrap look special as well. It is all about the presentation. So with that being said, tags are the last thing you add to those gifts, so why not make it pop also? The past two weeks I have been working on tags. I am having a lot of fun making these tags and I want to show you what I finished so far.


Giving you the sneak peek at the first set I worked on. Just showing some of the elements that I planned on using for it. I used a Martha Stewart stamp set with a baking theme. I used the gingerbread people and the gingerbread tree and snowflake stamp for a cute little set. 


Some more sneak peeks that I shared on Instagram to show my work in progress. This set had a lot of fussy cutting which is so much fun to do. I find it very relaxing because you need to take your time so you don't cut anything you did not want to.


Here we have the gingerbread men and trees on these tags. I used a cute gingerbread themed paper from a paper pad from Recollections at Michaels that I picked up last year. The gingerbread men are raised off the card with the tree stamped on the cirlcle piece.  A bow and a few sequins finish off this group of cards.


This group is for the gals on your list. The gingerbread girl is raised off and oval stamped with a snowflake gingerbread stamp. The finishing touches were a white bow and a few sequins.


Here is the complete set featuring the gingerbread stamps. They are 3x3 gift tags with white/gold twine for you to attach the tags to your gifts. 


This is a six piece set. The tags were inked up on the top and sides with Tim Holtz Distressed Inks. The stamp is from the Unity Stamp Company called Holiday Joy Christmas Tree. It was stamped using the same Peeled Paint Distressed ink used on the tag. I colored in the tree using eyeshadow, and the heart and ribbons were colored in with a red Ink Joy pen. A paper doily and ribbon finish off these tags. With these I not only stepped out of my comfort zone with doing a tag but also using the doily the way I did. I am trying to do different things with my embellishments on my projects, so just be on the look out for that.

I am just showing you a close up of the tags.


OK here is a cute set of three snowman tags. Are they not adorable? I used the Unity Stamp Comapny rubber stamp called One of a Kind Winter. The snowflakes at the top were embossed with Versamark ink. I used Tim Holtz Faded Jean Distressed ink at the top. It was blended down to do the fade. I used eyeshadows to finish the ombre look. The snowman was stamped in Old Paper. A few sequins were scattered about and I added two crystal snowflakes to the top one being raised in front of the other. And the ribbon says it all: "Let it Snow."
The last one I have to share with you is this nutcracker set. They are 3x3 cards which are inked up on the sides with Tim Holtz Pumice Stone, The edges of the paper are also inked up. The nutcracker is another Unity Stamp from their Very Small Itty Bitty collection from a few years ago. The nutcraker is colored in with colored pencils. The wreath is a sticker from Recollections by Michaels. Season's Greetings is from an great set of stamps by Hampton Art.

OK so I have shared a good bit with you this time and guess what? Stay tuned because I am still working on more tags and I will be sharing them with you. I am trying to get ready for a craft show I am doing on November 19th so there will be a bit of creating going on. After the tags I would like to get some Christmas box card sets done for the show.


Thursday, July 28, 2016

My inspiration piece for guest designer for July

Hello everyone! Hope you are enjoying your summer so far. This past month I had the opportunity to be a guest designer for Faery Ink. It was a wonderful experience as you can see from the posts prior to this. I do hope in the future I could become a permanent member of this super talented group of designers and the chance to work with the artist behind Faery Ink, Amanda Bryon.

The new release for July that I designed an inspiration for is named "Lahla Lady Drake". I was going for a Game of Thrones look in the way of colors and feel to the card. I hope you get that sense when you see the card. I am going to show you the card before I go into detail of it.


The size of the card is a 6x6 with ivory card stock as the base. Maroon and black card stock are layered on the card from with the maroon sheets distressed and left ragged. I then dry embossed two pieces of an eggshell white card stock with a brick embossing plate from Darice. I added color to the brick with Tim Holtz Distressed Ink in Pumice Stone and Weathered Wood. And believe it or not the rest of the stone coloring was then achieved using a cheap eye shadow pallet set, I just used a paint brush and rubbed it into the paper. I like the end result for the coloring of the bricks. What do you think? I then made 2x2 squares with the brick sheets, rounded two corners of each. They were then mounted on slightly larger gray squares which also had two rounded corners. The squares are then mounted with foam pieces to the card front with a pointed corner of each one facing in.


Lahla Lady Drake is colored with colored pencils and blended using baby oil. The picture does not do the coloring in her cape or skirt justice. I will take close ups of them and add it below. She is sissy cut out and attached to the card using foam squares.  Before adding her to the card I added a black sheer ribbon to the card front around the middle of it. I also attached a double looped bow with rhinestones to complete the card front.

Tuesday, July 12, 2016

Beach babe, Beach balls and waves

Hi everyone! I hope you are enjoying your summer so far. I am so excited to share with you my first post as a guest designer for the month of July with Faery Ink. First off I would love to take the opportunity to thank Amanda for creating such awesome images for us to use.


So for the month of July at the Faery Ink Facebook Group the challenge is Fun in the Sun. We could choose any summer themed image for our finished project. My first idea when I seen this challenge is I want to do a circle card and make it look like a beach ball. Ha yep the beach ball was a bit harder than I thought of course I was over thinking it but the base got done. The image I decided to work with was Beach ball Arielle, she is to adorable. Here is the finished piece and I will give you some information about it below. 


Arielle was colored with my mix of different colored pencils, the brands that are in my mix are Prang, Prismacolor, Artist's Loft and Design Spectracolor.
The card base is made with two circle card stocks from Recollections, with the three sections of the ball done with yellow, pink and teal card stock.
The waves are from a pack of stickers I found by Recollections.

The statement that I used is from a Unity Stamp Set called Hello Summer. I stamped it in Tim Holtz Distressed ink in Evergreen Bough with the edges done with Spun Sugar and Scattered Straw.
I also used Ranger glossy accents on the sun glass's lens to make the shiny.  

I so love the whole look of this card and plan on doing this one again with a few different hair and bikini colors. Comment below if you would like to see any color combos. 

Be on the lookout for two more posts for the other inspirational pieces I completed this month. Thanks for stopping by and I appreciate any comments.  


Wednesday, June 1, 2016

Oh I have so much to share!

Hello everyone! Wow, I have not posted for a while, so sorry about that. Some awesome things have happened with this little card business of mine.

I had another sale on Etsy, the customer contacted me though my Facebook page. The card I sold was one of my favorites and it was one that I stepped out of my norm for. I have posted the card below.

The image is from PPinkydollsarts here is the link to her Etsy shop and image


I have submitted an application to have my cards sold at a store called the Artsmiths here in Pittsburgh. I have been trying so many different things this year, and between my cards and working my craft on the computer, I am blown away with what I am doing. The application was super stressful for me. I am not one to sell myself, but it is easier for me to sell my work. 


Just recently I finished up some graduation cards for a family we have met here since moving to Pittsburgh. They own an awesome pizza place in our neighborhood named Sammy's Pizza. Here are the cards I made for the owner and her daughter for the son.
 
I must not have taken a picture of this card after I added his name to the card front. I wanted this one to be clean and simple so I went with just a tassel and used the school's colors of blue and white.

This one was a fun one. I made it into a shaker card. I know it is a little difficult to see, but inside the shaker cap is the word "Congrats" and a black graduation cap. The background paper is a Darice embossing plated for graduation caps about it. Both of the ladies were pleased with their cards.

And most importantly I have wonderful news to announce! July will be my guest design month with Faery Ink! If you notice my badge is up at the top of this blog. I am so excited for the privilege to work so closely with the owner and designer of Faery Ink. So with that being said, be on the lookout for more postings on here!
 

Saturday, January 16, 2016

So what have I been up to this month?

Happy New Year everyone! Hope your New Year is off to a great start. I have wonderful news to share! I have had an Etsy shop under QtCards for the past six years. Well, this past weekend I sold my first card! I was so excited to see that I got a sale. Now, mind you I have not kept up with the shop as much as I should. I am going to show you later what I will be adding to the shop before the end of the month. Here is the card that I sold.


The guitar and the text "Turn it up" are from the Raisin Boat Company. They had a stamp rental program that I used to subscribe to, but early last year they stopped it. I have a few other stamps of theirs that I will have to showcase for you at some point. 
The Happy Birthday stamp is from Paper Source, I like the font they used called  Old Claude for it. It is a nice font to use for kids or mens cards.

Are you ready to see what I have made so far this year?
I started off the new year with making baby cards. I have been a little busy bee.

These two sets are a few of the stamps I love using for baby cards. These sets are from Unity Stamp Company.The girl set is called Little Gal and the boy set is Little Guy. I have a few more cards to share with you using these sets.


As you may notice, I tried to do a boy and girl version of each sketch that I did. The boy paper is from DCWV. I can not remember the name of the stack, and it seems that they don't make it anymore because I can not find it on their web site. I know I have had it for a few years now. I love the use of buttons for a boy card. They a nice embellishment to use for them.

This is another card that I did that would be great for a baby boy or a baby girl.


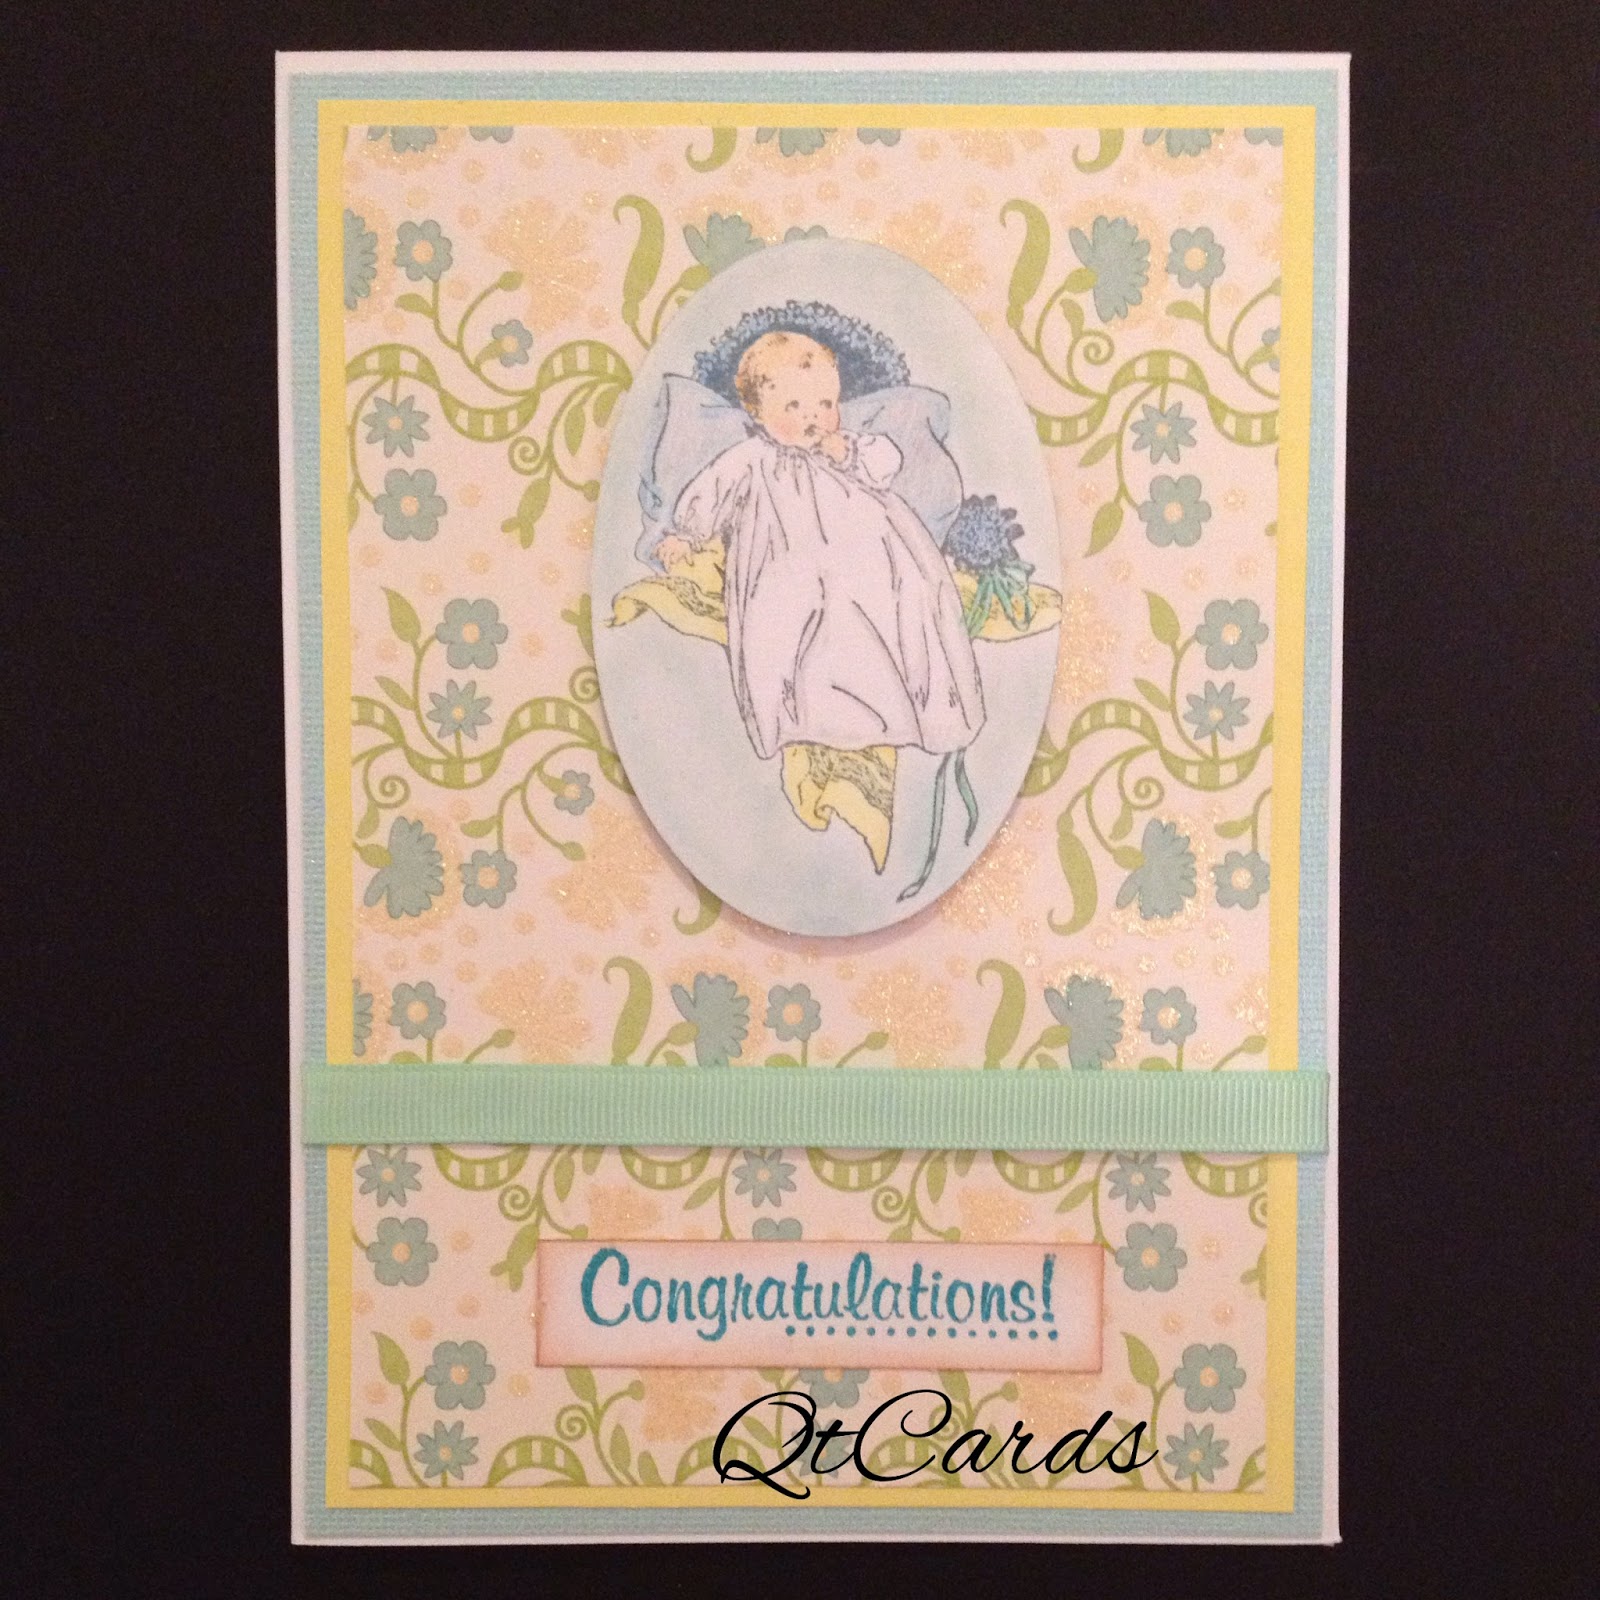
I used gender neutral colors for it. I really love the softness of the colors together and how the little baby turned out. The baby stamp is from Stampendous. This stamp also appears to be not available anymore as well. These and a few more cards that I still need to take photos will be going up in the Etsy store.
Please let me know what you think of these cards and let me know if there is a theme you would like me to do. I am going to be starting my Valentine's Day cards this week, so get ready for them. There is also a challenge from Faery Ink that I need to complete before the end of the month.

Will be back soon,
Colleen

Wednesday, December 9, 2015

It's begining to look like Christmas

Christmas Time is here, Christmas has always been my favorite Holiday. Christmas to me is about family, giving to others and traditions that only happen during Christmas.

Along with Christmas comes the cold weather and snow. Nothing warms me more during winter than some hot coco. So for this card I have created a card using the digial stamp from Faery Ink named Coco Marshmallow Fae and Christmas. 

This card is also being entered into a color challenge that the Faery Ink Facebook group is having. The colors we had to use is red, green and gold.

I forgot to save a close up of my coloring of the girl and skirt so I had to share a screenshot from Instagram. I really love how the skirt turned out. I also added some glitter to it, you will see that in a following pictures.

Here is the finished card. The image is colored in with colored pencils. All of the papers are from Reflections found at Micheal's. The wood Merry Christmas is a plain wooden tag from the Dollar Spot at Target. I covered it with gold glitter glue from Micheal's. The poinsettia is also from Micheal's. The red and dark green dollies are from Reflections. 


Added some of the glitter glue to her skirt to get a bit of shimmer to the gold section. And also did the snow flakes in the glitter. I know it is a little thing but I like how the shading on the marshmallows turned out.


Just another view to show how I have her popped off the page And how the Merry Christmas is raised from the card also. 


Thanks for stopping by and say hello if you would like.
I plan on entering her in to the following challenges:
Faery Ink's Facebook December Challenge - Red, Green and Gold
Crafty Gals Corner #49 Challenge - Anything Goes
I have not joined to many challenges just yet but I am learning to do more blogging to find ones to join.